I have a few questions I got from my previous tutorial:
WHAT?!
What the fuckkk?
HOw!???
So I made another one that will hopefully be less confusing. This is NOT a general drawing tutorial of clothes or clothing folds. It’s only for design, composition and pose. Long post!
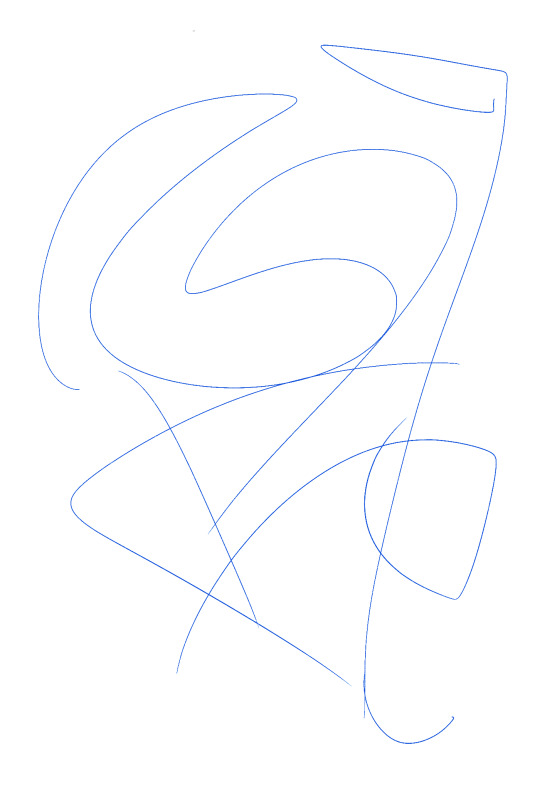
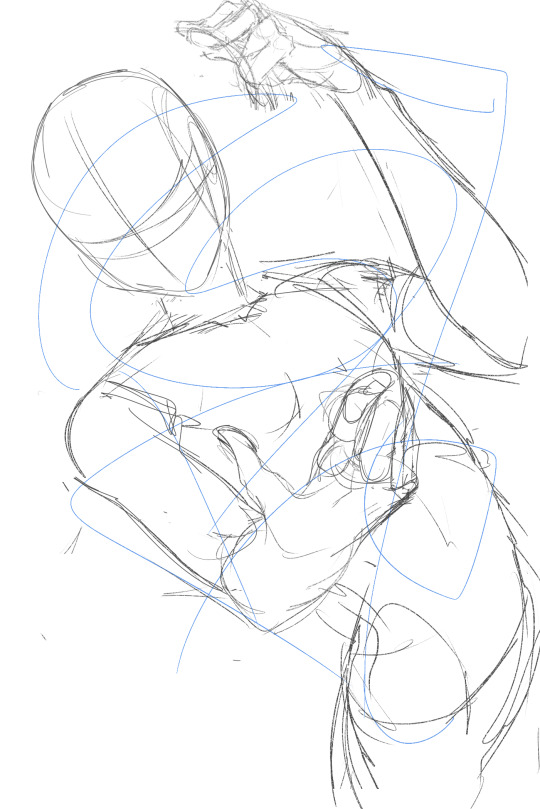
1) Draw a random scribble. This is the same scribble that I drew so beautifully last tutorial so I can’t let go of it just yet
But no, I chose this again to show that one scribble can spawn many ideas. You just need to use your imagination ❤
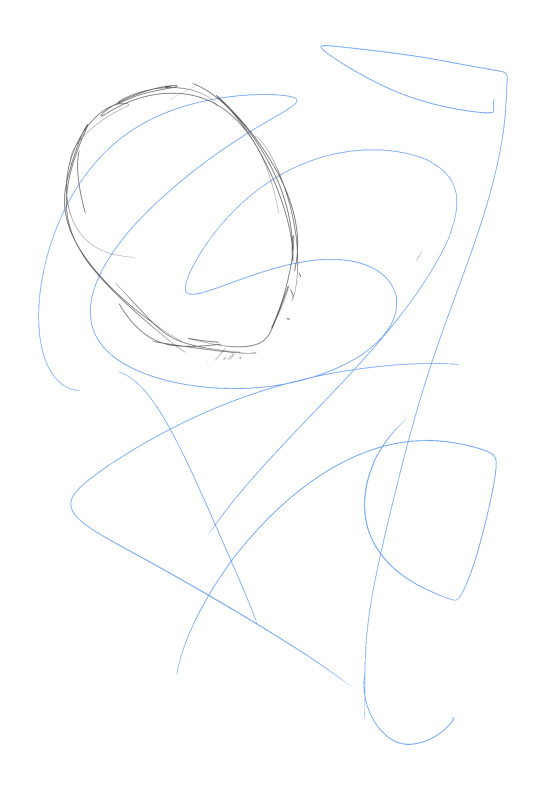
2) Choose the head’s position. The head’s position is important because it will establish the pose of the character, whether he faces front, back, side, etc.
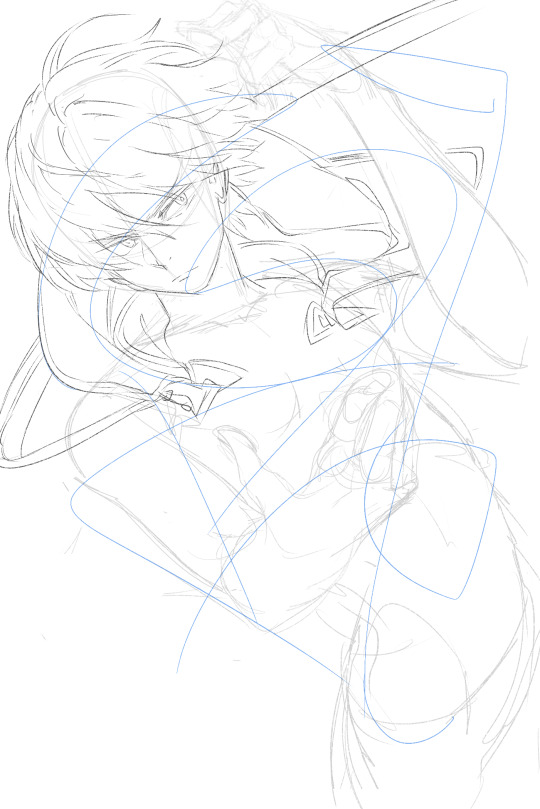
3) Using this line from the scribble as a guide, you can draw the collar bone. Now you’re slowly getting a pose. (Excuse the horrible gif quality)
4) And from this line you can draw his left arm and hand, The guide scribble kind of looks like its a hand in a salute pose, don’t you think? So:
I didn’t draw a salute pose exactly but that’s cause at this stage I’m already planning what he is doing with that hand, maybe he is holding up his cap? That might look more interesting than just him holding up a plain salute
5) I used the Transform Tool to make the sketch smaller so his pose would be more readable when I use this scribble as a guide:
Now we finished drawing the pose for each of his hands. Do your best to make the hand poses look cool because like I said before, hands boost your drawing’s awesome factor by 50%
6) Still sort of using the shape of the scribble as a guide,I drew the rest of the body.
7) Draw the hair just so you can get it out of the way, but do note that I followed the scribble for the wind direction his hair will blow away from
8) Add more flying elements! Flying elements help the composition, so don’t forget about them. They can be anything from cliche rose petals, clothes, hair, or even to a pet monster!
9) Keep going, your imagination is literally the limit
10)
For the record you don’t have to follow every single line of your scribble, but I’m following a lot of it just for the sake of this tutorial.
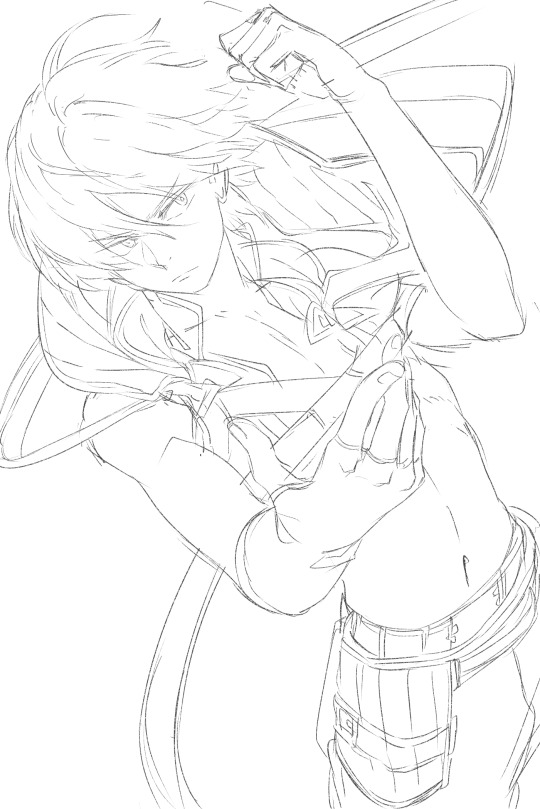
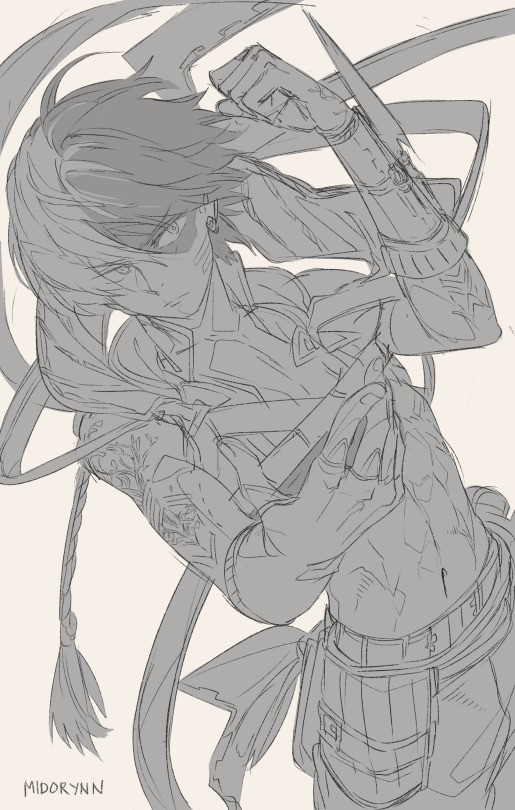
11) Finish the big parts of your sketch…
12) …so you can go on and add little details. I also changed his left hand pose to a closed fist so I can attach a blade on his wrist. That kind of looks like a blade right? Right??
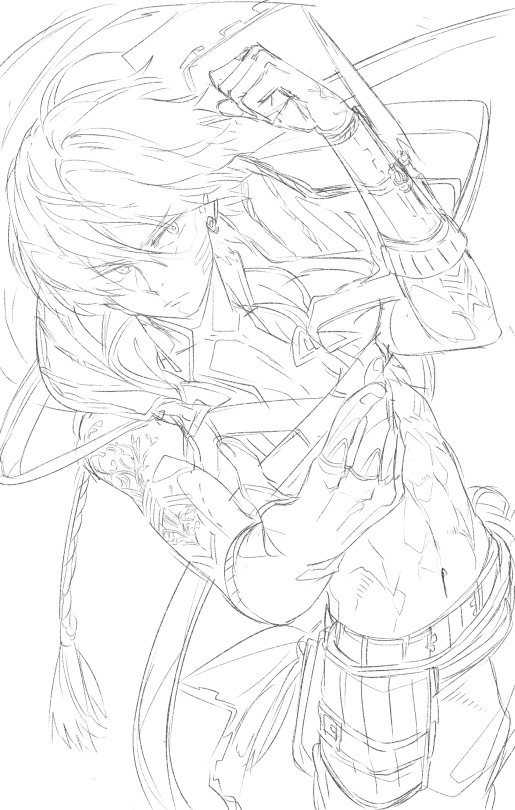
13)
I’d really like to see you guys’ sketches-from-a-randomass-scribble! ^^
This tutorial is made possible by my beautiful patrons. If you’d like to help a girl out please come check my patreon! Thanks for reading~